Apex Quest Guide for Non-Developers
Edited 06/01/2024

This guide will walk you through the process of installing the wallet, signing in using Crossmark, switching nodes, activating your address, and making a simple transaction.
Step 1: Install the Wallet
- Download the Wallet: Download the Crossmark wallet using the browser options below:
- Install the Wallet: Follow the installation instructions for your browser. Once installed, open the wallet application.
Step 2: Sign in Using Crossmark
- Open Up Crossmark: Launch the wallet on your device.
- Sign-In: Look for the Get Started button to begin. Visit our blog for more info.
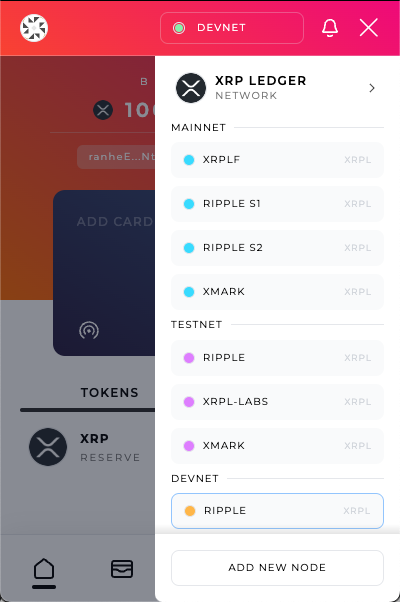
Step 3: Switch Node to Devnet
- Switch to Devnet:
Locate the node settings at the top of the wallet and switch to DEVNET.
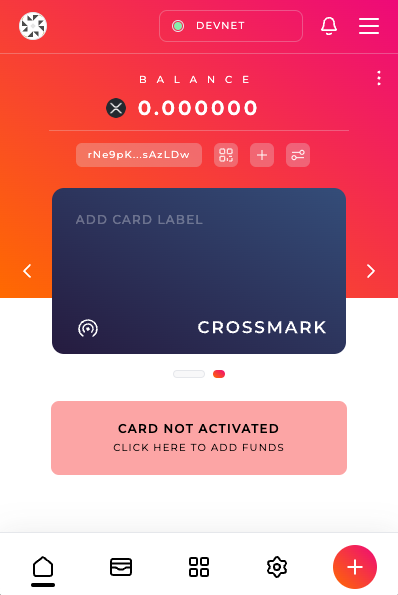
Step 4: Activate Your Address
- Fund Your Address:
Use the "Click Here To Add Funds" button to fund your address. Activation requires a minimum balance of 10 XRP.
- Verify Activation: After funding, check the account information again to confirm the address is activated.
Step 6: Make a Simple Transaction
- Create New Transaction: Navigate to the plus icon where you can send transactions.
- Enter Transaction Details:
Recipient Address: Enter the address you want to send XRP to i.e. ranheEbv6ZdHpFZUEh9HJKYvEDAZNtXFHM.
Amount: Specify the amount of XRP to send.
Memo: Add the memo "Crossmark APEX Quest 2024".
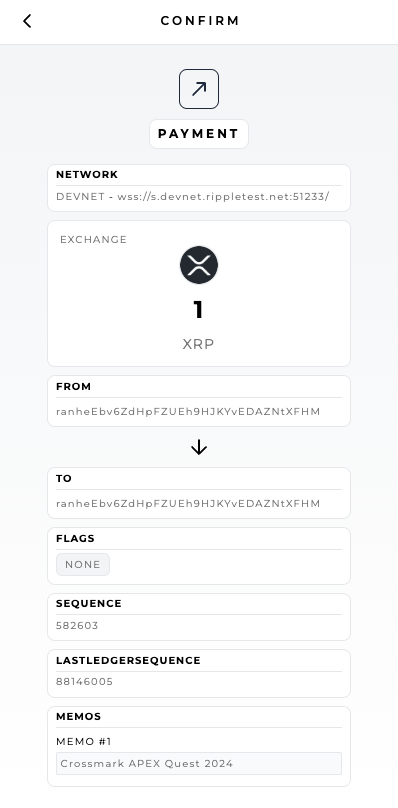
- Review and Confirm: Review the transaction details carefully. Confirm the transaction and submit it.
Step 7: Complete and Submit Quest Form:
Navigate to quest form provided below and submit responses.
Congratulations! You have successfully completed the Crossmark Quest. Come visit us at the Crossmark Booth to claim your prize!
For any issues or additional support, contact us on our Discord.